
Yes, desktop 3D printing has revolutionized prototyping and small-scale production. Problem is, most objects you fabricate on those compact machines will still be too rough, requiring you to smoothen them with sharp tools, gritty sandpaper, or chemical vapors if you want a professional finish. The Polysmoother is a desktop machine that can do a lot of that finishing work all on its own.
A desktop vapor polishing machine, it spares you from the difficult and potentially dangerous work of manually exposing your fabricated object to toxic fumes, as everything happens within the confines of an enclosed machine that you can set, forget, and return to only once everything’s done. No need to turn your stove and cooking pots at home into temporary 3D printing accessories – this thing gives you an affordable rig to do just that.

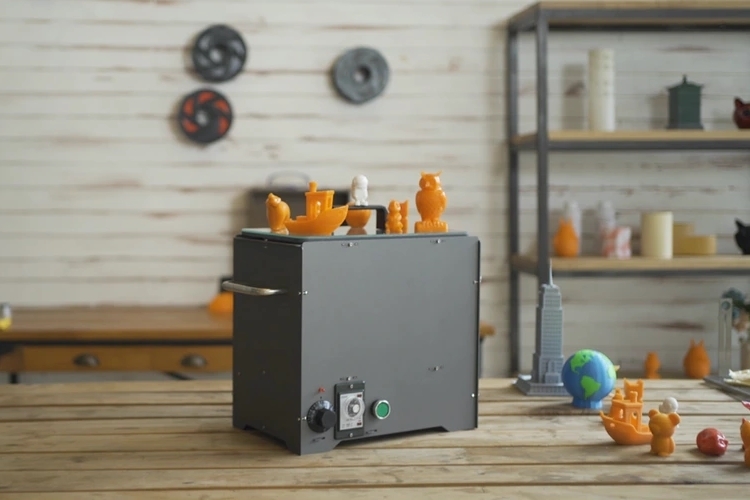
The Polysmoother is a desktop machine that opens from the top, allowing you to easily set down and retrieve your 3D-printed objects inside the main compartment. To use, simply open the top, pour in some solvent (they recommend covering the bottom of the container with a 1mm thick layer), and insert the included tray. From there, you set down the rough fabricated object on top of the tray, put the lid back on, and put in your settings using the controls on the sides. The tray, by the way, comes with raised sections on the sides, which you can use to run a line from end to end, in case you want to suspend the object for an even cleaner exposure.
Controls are simple and straightforward. There’s a large button that turns the machine on and off, a knob for adjusting temperature, and another knob for the timer. Basically, you set what level of temperature it will heat the solvent at and how long it will do that. According to the outfit, small objects need no more than 10 minutes of exposure to properly melt off all the rough edges, so it shouldn’t add that long to your work process (the machine does require a few minutes to begin heating up, though, so it’s more than 10 minutes). Do note, you also need to wait for the fabricated object to dry after vapor polishing (otherwise, you could ruin it), so that would be another 10 to 30 minutes, depending on the heat and time duration you left it exposed.

The Polysmoother has a main chamber that can accommodate 3D-printed objects measuring up to 12.8 x 6.9 x 7.8 inches, so you should be able to use it for most common fabrication jobs. Do note, an object that size will require at least 20 minutes of vapor polishing (most likely more), which, we guess, isn’t an issue, since you’ll likely take longer (way longer) if you decide to sandpaper all the rough surfaces out of something that big.

Obviously, this machine will work best with ABS plastic objects that you then polish using acetone, which is the common combo for DIY vapor polishing. For PLA, the outfit recommends experimenting, as different brands of the material can work with either acetone, THF, or ethyl acetate. Basically, you’ll still have to find material and solvent combinations that work, but this machine makes the actual polishing process just that much simpler.
A Kickstarter campaign is currently running for the Polysmoother. You can reserve a unit for pledges starting at $129.